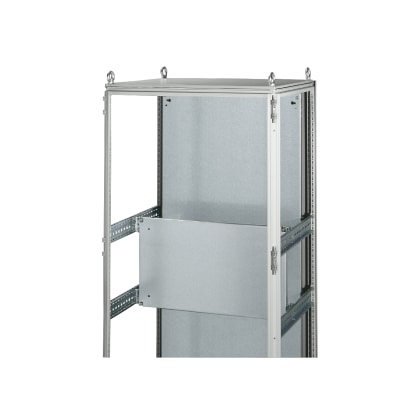
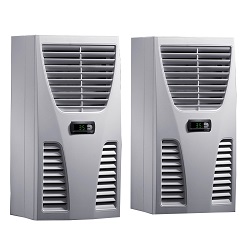
This can also be used in combination with a system section or support rails as needed to match the look of the room. Allows failed units to be replaced easily and promptly.
This can also be used in combination with a system section or support rails as needed to match the look of the room. Allows failed units to be replaced easily and promptly.
This can also be used in combination with a system section or support rails as needed to match the look of the room. Allows failed units to be replaced easily and promptly.
This can also be used in combination with a system section or support rails as needed to match the look of the room. Allows failed units to be replaced easily and promptly.
This can also be used in combination with a system section or support rails as needed to match the look of the room. Allows failed units to be replaced easily and promptly.
This can also be used in combination with a system section or support rails as needed to match the look of the room. Allows failed units to be replaced easily and promptly.
This can also be used in combination with a system section or support rails as needed to match the look of the room. Allows failed units to be replaced easily and promptly.
This can also be used in combination with a system section or support rails as needed to match the look of the room. Allows failed units to be replaced easily and promptly.
This can also be used in combination with a system section or support rails as needed to match the look of the room. Allows failed units to be replaced easily and promptly.